Fabric Composer makes it incredibly easy to prototype a Blockchain network, generate the RESTful API, and even creating the Angular front-end. The tutorial will guide you through those three components of Fabric Composer.
Install Fabric Composer
Install the most recent Fabric Composer libraries:
$ npm install -g yo composer-cli@next composer-rest-server@next generator-hyperledger-composer@next composer-playground@next
The installation process might take some time.
Create the Blockchain network
For this step, we can just follow instructions from the official README.md
1.. In a directory of your choice (these instructions will assume ~/fabric-tools), download the archive file that contains these tools. There are both .zip and .tar.gz formats - select one of these options:
$ mkdir ~/fabric-tools && cd ~/fabric-tools
$ curl -O https://raw.githubusercontent.com/hyperledger/composer-tools/master/packages/fabric-dev-servers/fabric-dev-servers.zip
$ unzip fabric-dev-servers.zip
2.. Select the version of Hyperledger Fabric you wish to use. If for example you are using Hyperledger Composer v0.17 or higher then you should select Hyperledger Fabric V1.1 usually by exporting the environment variable as follows
$ export FABRIC_VERSION=hlfv11
3.. If this is the first time that you have run these scripts, you’ll need to download Hyperledger Fabric first. If you have already downloaded Hyperledger Fabric, then first start Hyperledger Fabric, and then create a Hyperledger Composer PeerAdmin card. After that you can then choose to stop Hyperledger Fabric, and start it again later. Alternatively, to completely clean up, you can teardown Hyperledger Fabric.
All the scripts will be available in the directory ~/fabric-tools. A typical sequence of commands for using these scripts with Hyperledger Composer would be:
$ cd ~/fabric-tools
$ ./downloadFabric.sh
$ ./startFabric.sh
$ ./createPeerAdminCard.sh
Then at the end of your development session:
$ cd ~/fabric-tools
$ ./stopFabric.sh
$ ./teardownFabric.sh
Configure Fabric Composer
Next download the Business Network Archive file from here:
$ wget https://marek5050.github.io/static/bna/carauction-network.bna
alternatively, feel free to compile your own Business Network Archive from the fabric composer samples page.
Then deploy the network using:
$ composer network deploy -a ./carauction-network.bna -A admin -S adminpw -c PeerAdmin@hlfv1 -f "./PeerAdmin@hlfv1.card"

Deploying business network from archive: ./carauction-network.bna
Business network definition:
        Identifier: carauction-network
        Description: Car Auction Business Network

✔ Installing runtime for business network undefined. This may take a minute...

Starting business network from archive: ./carauction-network.bna
Business network definition:
        Identifier: carauction-network@0.1.14
        Description: Car Auction Business Network

Processing these Network Admins:
        userName: admin

✔ Starting business network definition. This may take a minute...
Successfully created business network card:
        Filename: ./PeerAdmin@hlfv1.card

Command succeeded
Import the Composer Network Card
$ composer card import -f ./PeerAdmin@hlfv1.card

Successfully imported business network card
     Card file: ./PeerAdmin@hlfv1.card
     Card name: admin@carauction-network

Command succeeded
List the available cards.
$ composer card list

The following Business Network Cards are available:

Connection Profile: hlfv1
┌──────────────────────────┬───────────┬────────────────────┐
│ Card Name                │ UserId    │ Business Network   │
├──────────────────────────┼───────────┼────────────────────┤
│ admin@carauction-network │ admin     │ carauction-network │
├──────────────────────────┼───────────┼────────────────────┤
│ PeerAdmin@hlfv1          │ PeerAdmin │                    │
└──────────────────────────┴───────────┴────────────────────┘


Issue composer card list --name <Card Name> to get details a specific card

Command succeeded
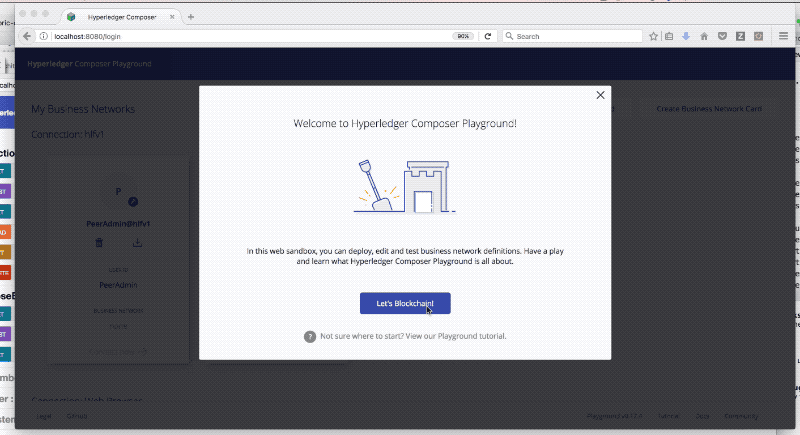
Run the Composer Playground
To run the Composer Playground we execute in a new terminal.
$ composer-playground

Composer                :main()                   >
PlaygroundAPI           :createServer()           > 8080, false
PlaygroundAPI           :createServer()           Playground API started on port 8080
PlaygroundAPI           :createServer()           <
Once we navigate to the appropriate web address we should see the new “admin@carauction-network” card. Click Connect and go to the Model file to make a few minor changes. Let us add a year field to the Vehicle model and add a new Coffee model.
asset Coffee identifier by name {
    o String name
}

asset Vehicle identified by vin {
  o String vin
  o Integer year
  --> Member owner
}
Click the Export button to save the Business Network Archive file locally.
Verify the existing network
We can verify the current business logic using the following command. Notice it does not have the Coffee model yet.
$ composer network list -c admin@carauction-network

✔ List business network from card admin@carauction-network
models:
  - org.hyperledger.composer.system
  - org.acme.vehicle.auction
scripts:
  - lib/logic.js
registries:
  org.acme.vehicle.auction.Vehicle:
    id:           org.acme.vehicle.auction.Vehicle
    name:         Asset registry for org.acme.vehicle.auction.Vehicle
    registryType: Asset
  org.acme.vehicle.auction.VehicleListing:
    id:           org.acme.vehicle.auction.VehicleListing
    name:         Asset registry for org.acme.vehicle.auction.VehicleListing
    registryType: Asset
  org.acme.vehicle.auction.Auctioneer:
    id:           org.acme.vehicle.auction.Auctioneer
    name:         Participant registry for org.acme.vehicle.auction.Auctioneer
    registryType: Participant
  org.acme.vehicle.auction.Member:
    id:           org.acme.vehicle.auction.Member
    name:         Participant registry for org.acme.vehicle.auction.Member
    registryType: Participant

Command succeeded
Update the existing network
Once we have the new BNA file we can update the network using the command:
$ composer network update -a  ./carauction-network_new.bna -c admin@carauction-network
Updating business network from archive: ./carauction-network_new.bna
Business network definition:
        Identifier: carauction-network@0.1.14
        Description: Car Auction Business Network

✔ Updating business network definition. This may take a few seconds...
Successfully updated business network

Command succeeded
Verify changes
Finally, we should see the Coffee model we created above.
$ composer network list -c admin@carauction-network

✔ List business network from card admin@carauction-network
models:
  - org.hyperledger.composer.system
  - org.acme.vehicle.auction
scripts:
  - lib/logic.js
registries:
  org.acme.vehicle.auction.Coffee:
    id:           org.acme.vehicle.auction.Coffee
    name:         Asset registry for org.acme.vehicle.auction.Coffee
    registryType: Asset
  org.acme.vehicle.auction.Vehicle:
    id:           org.acme.vehicle.auction.Vehicle
    name:         Asset registry for org.acme.vehicle.auction.Vehicle
    registryType: Asset
  org.acme.vehicle.auction.VehicleListing:
    id:           org.acme.vehicle.auction.VehicleListing
    name:         Asset registry for org.acme.vehicle.auction.VehicleListing
    registryType: Asset
  org.acme.vehicle.auction.Auctioneer:
    id:           org.acme.vehicle.auction.Auctioneer
    name:         Participant registry for org.acme.vehicle.auction.Auctioneer
    registryType: Participant
  org.acme.vehicle.auction.Member:
    id:           org.acme.vehicle.auction.Member
    name:         Participant registry for org.acme.vehicle.auction.Member
    registryType: Participant

Command succeeded
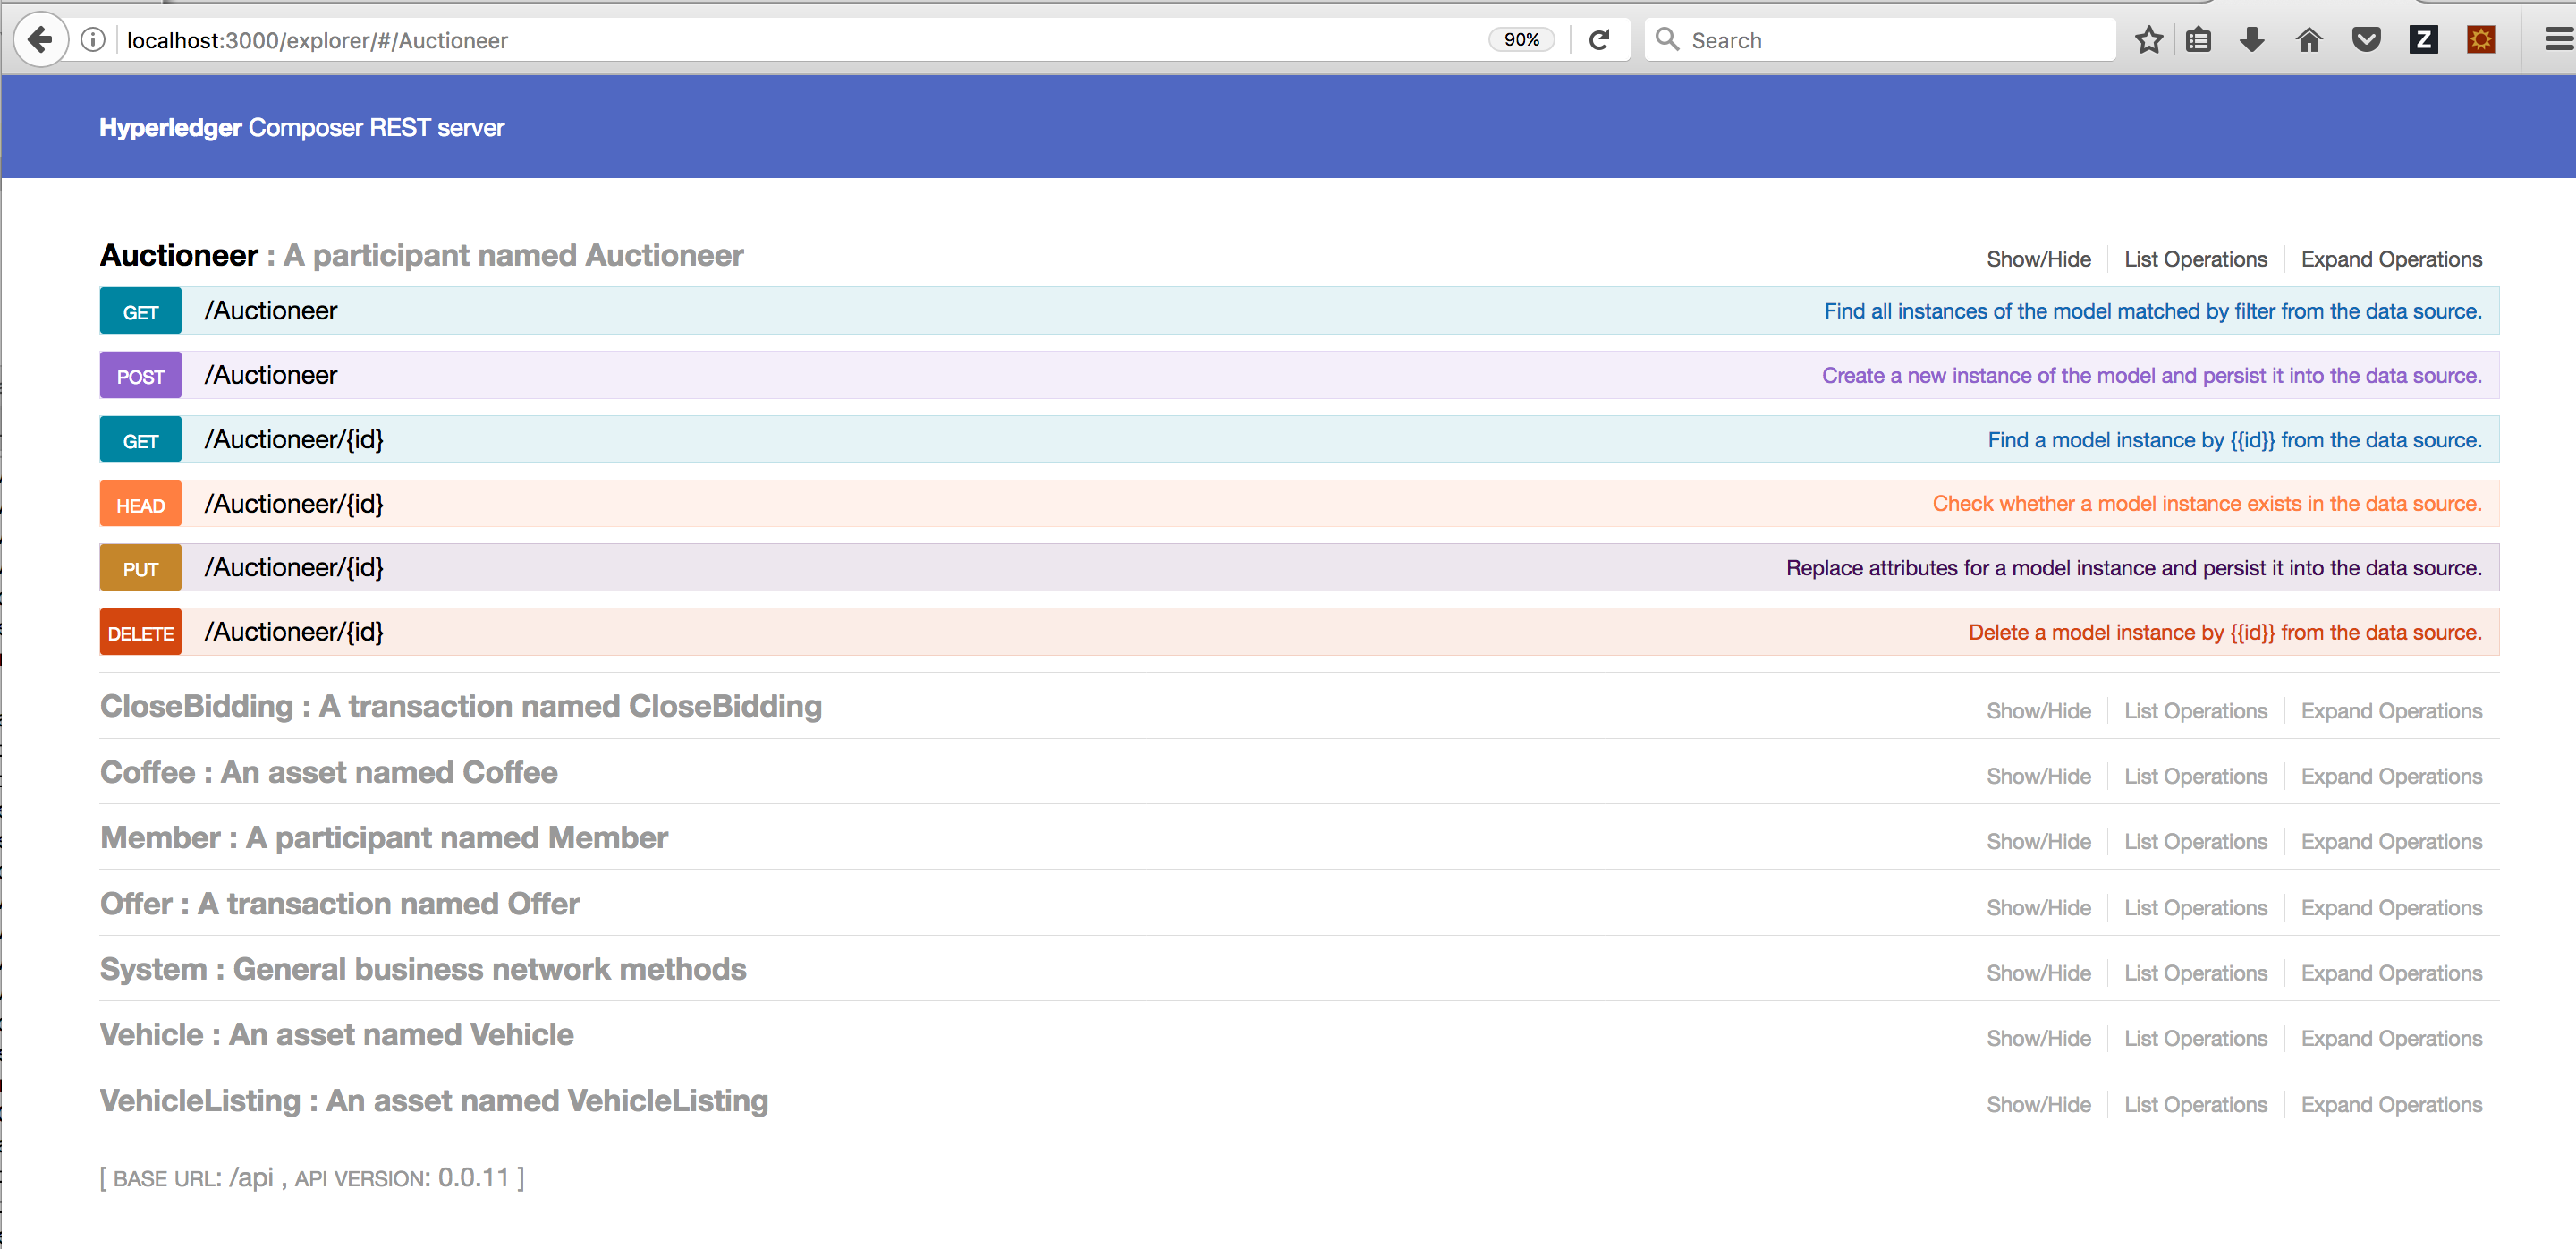
Build the REST Api
To build the REST API we use the composer-rest-server command.
$ composer-rest-server -c admin@carauction-network -n required -w true
Discovering types from business network definition ...
Discovered types from business network definition
Generating schemas for all types in business network definition ...
Generated schemas for all types in business network definition
Adding schemas for all types to Loopback ...
Added schemas for all types to Loopback
Web server listening at: http://localhost:3000
Browse your REST API at http://localhost:3000/explorer
We can explore the API by visiting http://localhost:3000/explorer
Generate the Angular front-end
To generate the Angular front-end we’ll need a few tools. For example Yeoman, Angular-cli, and the Yeoman generator. We can install them all with the below command.
Install the Yeoman Composer Generator
$ npm install -g yo typings bower @angular/cli generator-hyperledger-composer
....
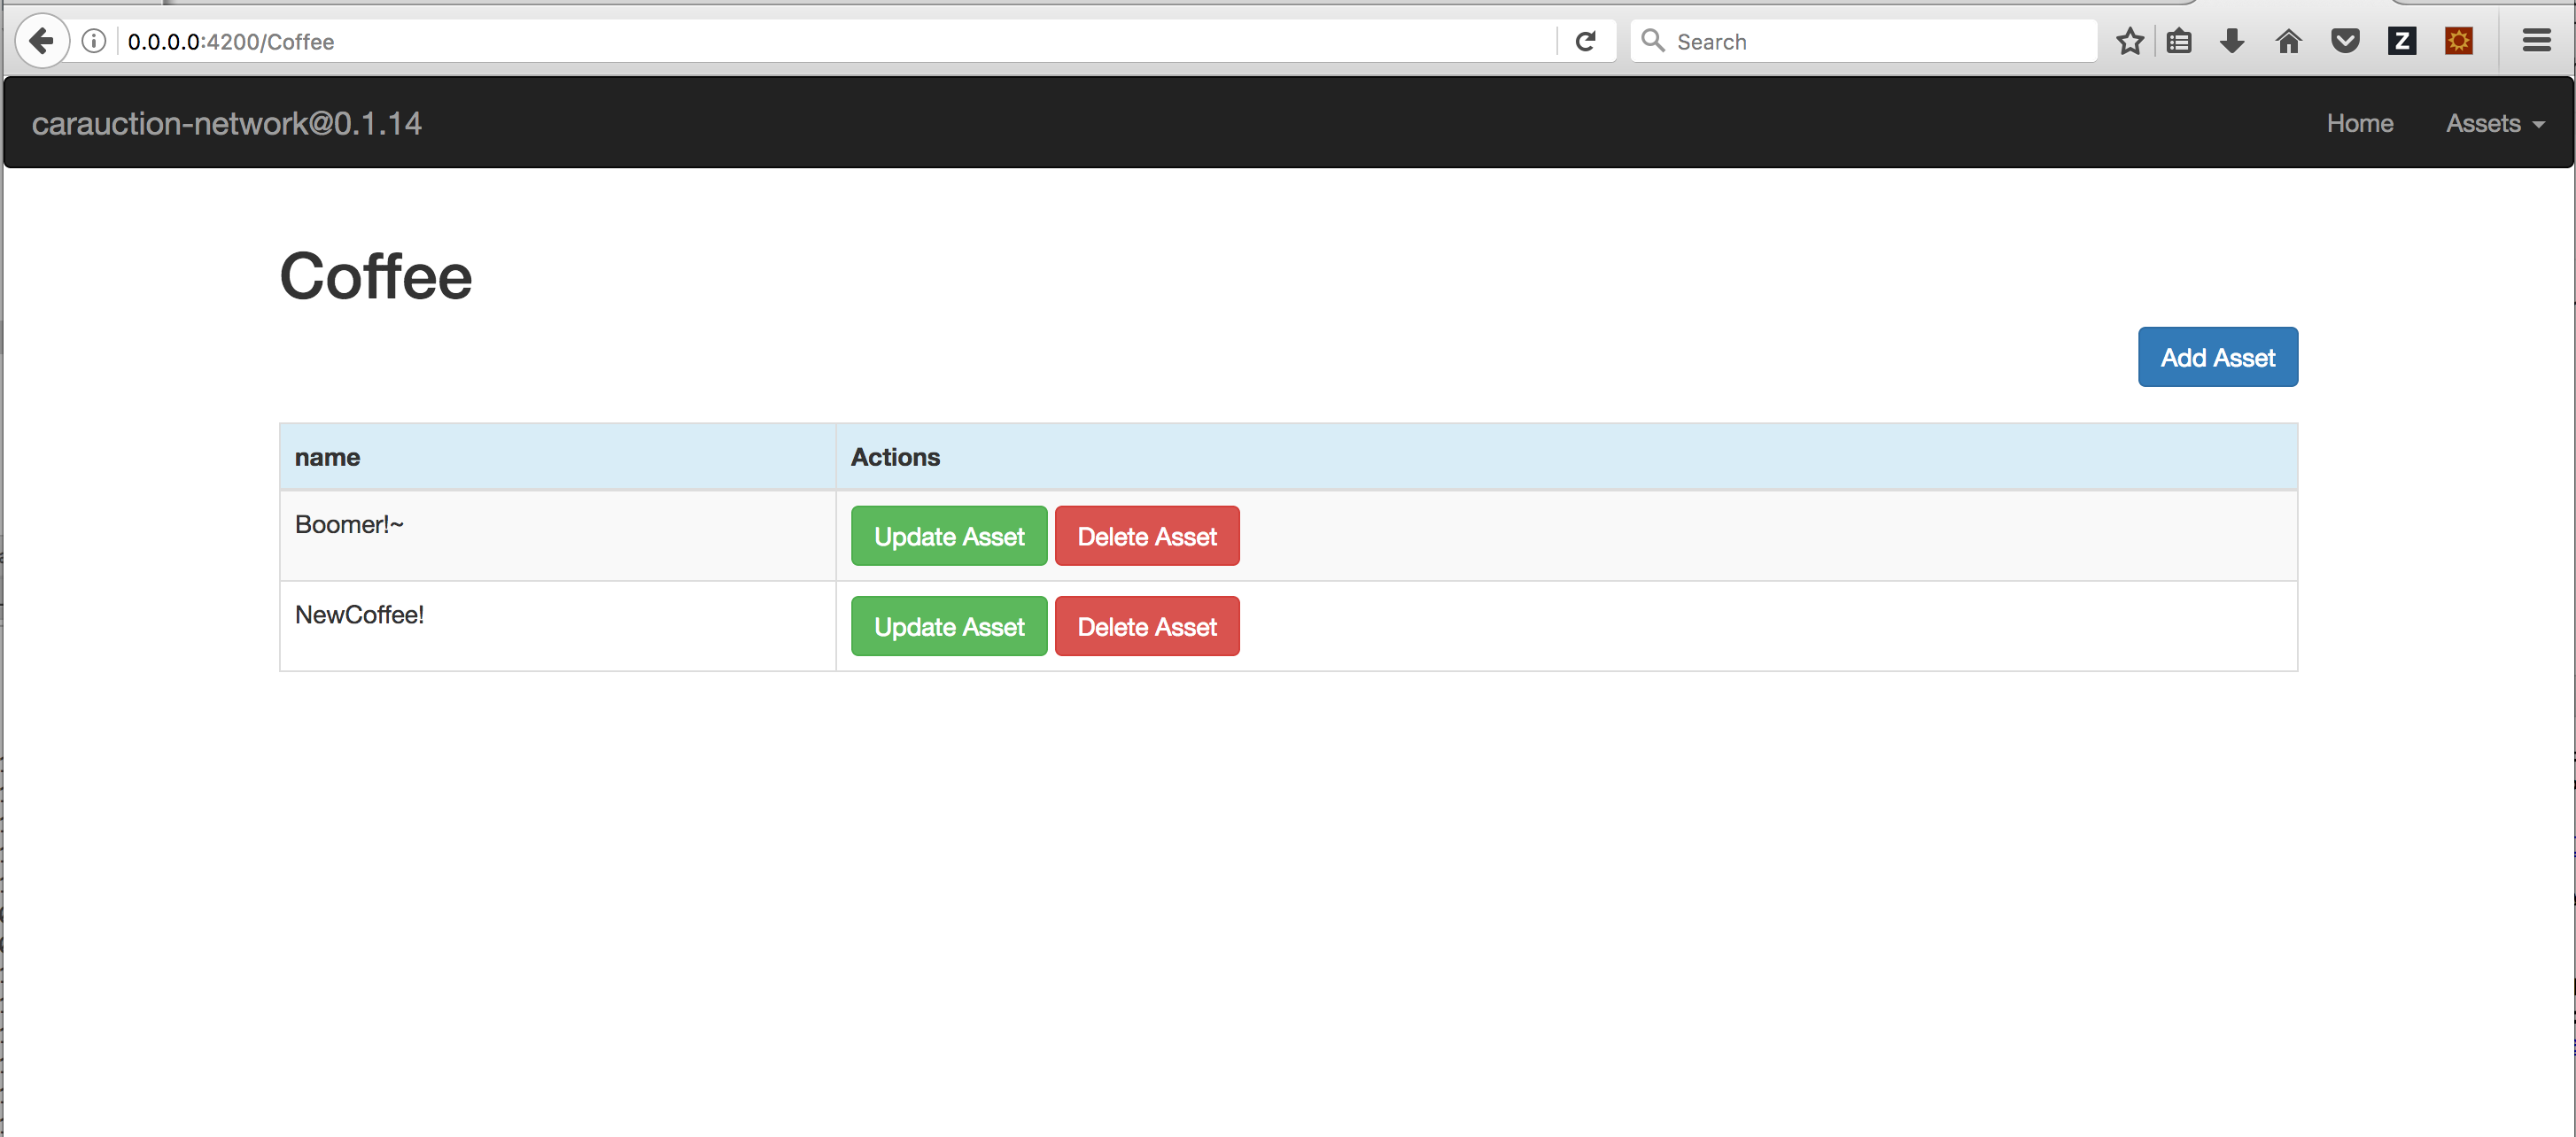
Build the Angular App!
Once we have all the required tools, we can use the Composer Yeoman generator we just installed. This will create an Angular baseline project with tests and models.
$ yo hyperledger-composer

Welcome to the Hyperledger Composer Angular project generator
? Do you want to connect to a running Business Network? Yes
? Project name: angular-app
? Description: Hyperledger Composer Angular project
? Author name: Marek
? Author email: marek.bejda@gmail.com
? License: Apache-2.0
? Name of the Business Network card: admin@carauction-network
? Do you want to generate a new REST API or connect to an existing REST API?  Connect to an existing REST API
? REST server address: http://localhost
? REST server port: 3000
? Should namespaces be used in the generated REST API? Namespaces are not used
Created application!
Completed generation process
....
and run the app using
$ cd angular-app
$ npm run start

> ng serve

** NG Live Development Server is running on http://localhost:4200 **
Hash: 9c3a6a67a49da40d5e15
Time: 12027ms
chunk    {0} polyfills.bundle.js, polyfills.bundle.js.map (polyfills) 267 kB {5} [initial] [rendered]
chunk    {1} main.bundle.js, main.bundle.js.map (main) 69.5 kB {4} [initial] [rendered]
chunk    {2} styles.bundle.js, styles.bundle.js.map (styles) 184 kB {5} [initial] [rendered]
chunk    {3} scripts.bundle.js, scripts.bundle.js.map (scripts) 439 kB {5} [initial] [rendered]
chunk    {4} vendor.bundle.js, vendor.bundle.js.map (vendor) 3.84 MB [initial] [rendered]
chunk    {5} inline.bundle.js, inline.bundle.js.map (inline) 0 bytes [entry] [rendered]
webpack: Compiled successfully.
Aim the browser at http://localhost:4200 to see the running application. Feel free to create some new assets to test out the UI functionality.
and deeper into the Matrix we go!
